Videos are the communication tool of modern times. In a simple step-by-step guide, this article shows you how to create your own YouTube channel in just a few steps. With this guide, you can start uploading videos and expanding your community today.
No desire to read? Listen to our blogcast:You clicked on our article! Congratulations! This means you already have an understanding of this basic thing: Using videos as a communication tool creates added value and is part of every successful marketing strategy.
For this reason, we don't want to beat about the bush any longer. Let’s get straight to the point! Have you produced a great video like Bayer's and want to share it with the whole world via YouTube? Do you want to know how to create playlists and comment under videos? In this article, we'll show you how to do it all in a few, simple steps.
Bayer’s refreshingly different video about your transparency initiative.
Starting your own YouTube channel takes, at most, a few minutes and is super easy. You can create a brand account with just your Google account. From there, you can customize it using various settings. Let's take a look at the procedures in detail.
4 Steps to Creating Your Own Video Channel.
#1 Create a Google Business Account (if you don't already have one).
Open your internet browser and go to YouTube.com. Click on "Sign In" in the upper right corner of your screen.

YouTube’s homepage to login.
You will then be redirected to a Google sign-in page. Click “Create Account.”
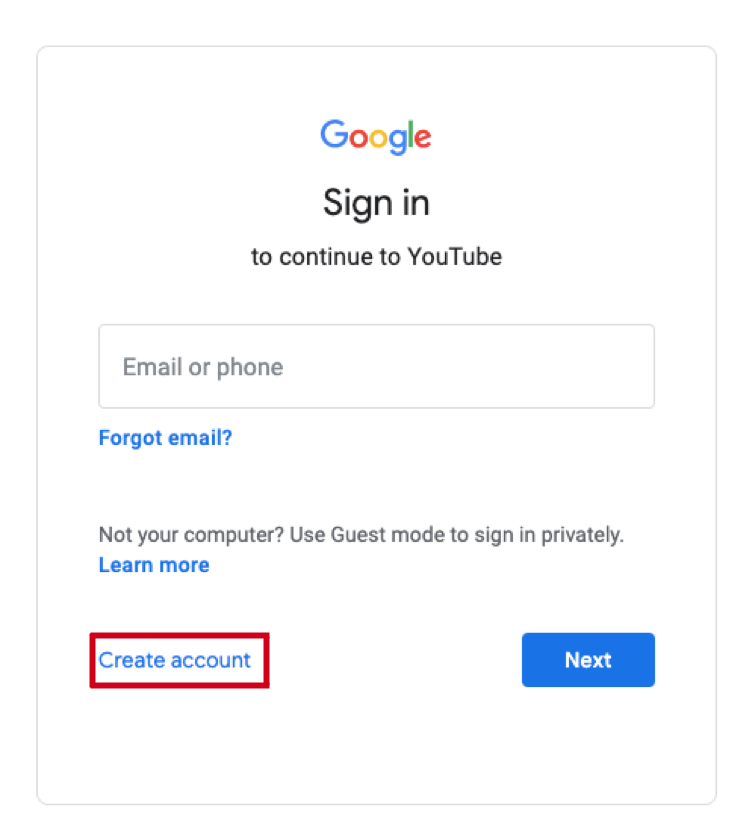
Simple: How to Create a Google Account
Tip:
We recommend you create a separate Google Business account because you can hire another person in your company to take care of your business YouTube channel without having to share any personal information, such as username and password.
Select the option "Use my current email address instead" here.
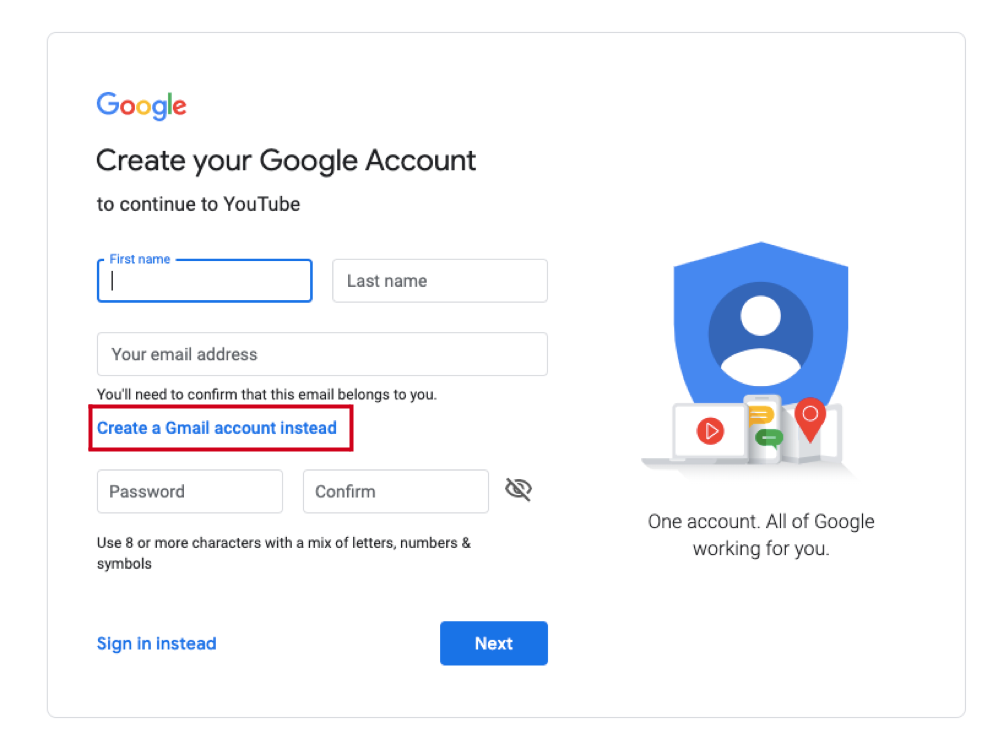
Link your YouTube channel to your business email address.
Fill in all the required information and click "Create Account.” Google will then guide you through a few steps to create your account. Once completed, you'll receive two emails from Google within minutes.
The first will ask you to confirm your current email address. Simply click on the link that appears. In the second email, you will receive information about your new Gmail account. Archive it for later use.
First task done. Now, continue as described below.
Already Have a Google Account?
Go to youtube.com.Click on "Sign In" in the upper right corner of your screen. The Google sign-in page will appear immediately. Select the correct account you want to link to your YouTube channel (if you have multiple accounts). In this case, this should be your Google account for business purposes. It will also serve as a YouTube channel for you to view and comment on videos later.
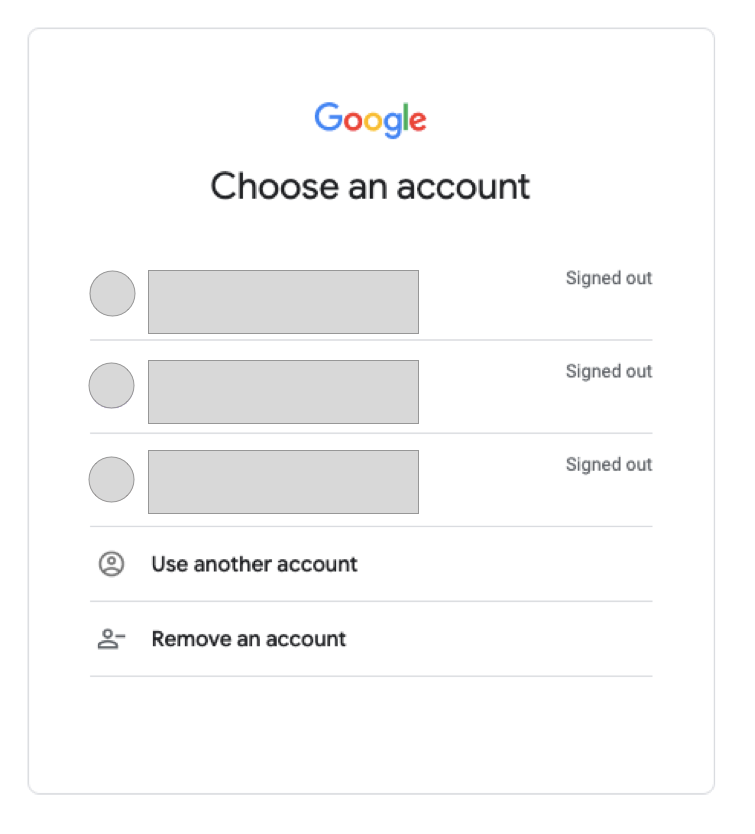
Transform the right Google account into your new YouTube channel.
Click on "Next" and you are logged in. You are now on the main YouTube homepage.
Next, it's time to set up your new YouTube channel.
#2 Set Up a Brand Account on YouTube.
Currently, there is no special business account or YouTube channel for businesses, which means you'll have to make do with the setting options of a standard YouTube channel to make adjustments, such as name, logo, and channel description.
In the upper right corner of the screen, you will see your user icon or a silhouette (if profile picture is not included). Click on it and a dropdown menu will open. Select "Settings" from this drop-down menu.
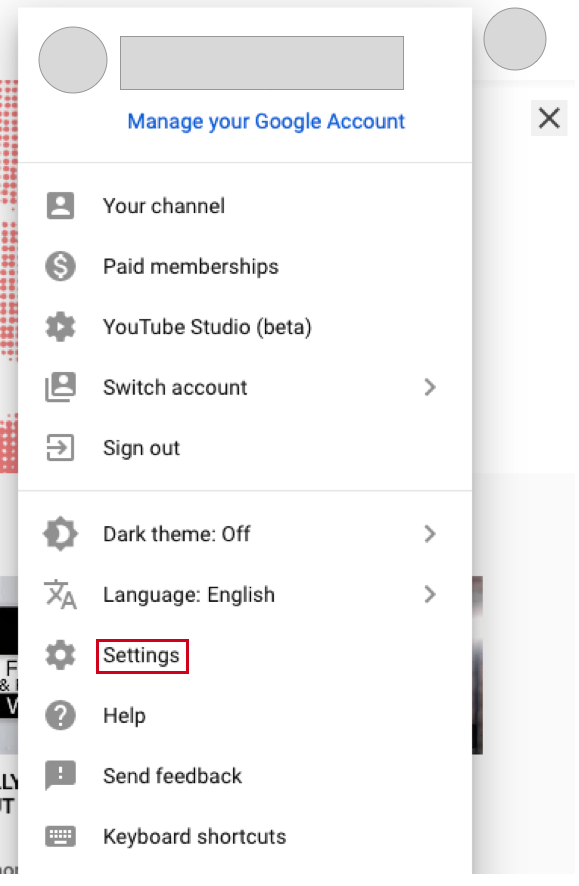
The account overview page opens. Next, under "My Account,” click "Create New Channel.”
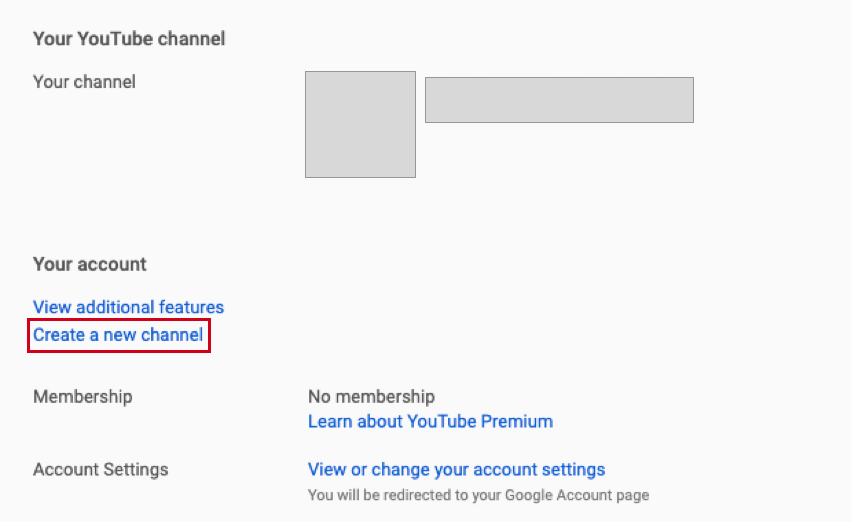
Create a new channel this way.
You will now be prompted to create your Brand account. In principle, it doesn't matter which name you choose, but it should match your brand. It may be a good idea to use the name of your product or service if you want to use your YouTube channel to promote your offering.
Tip:
The name of your YouTube channel should be short and creative so that the target group can better remember it.

Choose the right name for your brand account.
Then, you may be asked to verify your account via SMS or another method. Do this by naming the code assigned to you. Only then will your dashboard be unlocked to make additional settings to your Brand Account.
#3 Customize Your YouTube Channel to Match Your Branding
Now, it’s time for the creative part, and for some, it's where the real fun begins. You now have the option to customize your account to suit your needs. You can add both visual and descriptive elements to your profile. With this, you create your online identity, which is visible for every user, and it’s how you’ll interact with other people. Therefore, you should put a lot of effort into this step.
The strategies of a brand can be very different, thus, the need for adjustment possibilities of a YouTube channel. For this reason, we will concentrate only on the basic settings in the following sections.
When you are on the YouTube homepage, go to your user profile in the top right corner and click "My Channel.” Then, click "Customize Channel.” This will open the Channel Adjustment Dashboard. Now, follow steps 1 through 3.

The most important basic settings for your YouTube channel
1. Advanced Settings & Account Information (gear icon).
- Under "Customize Channel Layout,” click "Advanced Settings.”
- Add your profile picture and channel name.
- Enter descriptive keywords for your channel, which will increase your chances of being found better via the YouTube search function.
2. Channel Information.
- Add a SEO-optimized channel description.
- Enter the desired contact information.
- Link your website and social media channels (up to 5 links are possible). Your icons are displayed in the channel picture (see picture above with Facebook icon).
3. Channel Picture.
- Follow YouTube's guidelines, such as image size and other data policies, when creating, uploading, and editing an image.
- Make sure you have a responsive banner design, i.e. your channel image should be displayed optimally on your desktop, mobile devices, and TV.
- Check out this quick explainer video from YouTube for help:
Create, search, and edit YouTube channel images on your computer.
Done! Now you can upload your first video.
#4 Upload Videos and Optimize Them for SEO
A SEO-optimized YouTube channel has well maintained channel information and descriptions. Uploaded videos are no less important. Optimize them for the search as well. With the following tricks you’ll be well on your way.
Title.
A video is usually selected according to its title. This means that first impressions count, so choose a title that catches the eye. It should be concise, understandable, and peppy.
Video Description.
You have 1,000 words to describe the content of your video, but don't overdo it. People are on YouTube because they watch videos and don't want to read extra long texts. As with Google search results, only the first 1-2 lines of your description text are displayed here. Therefore, mention the most important thing first.
Tags.
Use useful tags to tell your users more about the content of your video (if they don't necessarily read your video description). YouTube can also use the tags to categorize your videos and place them with similar videos, increasing your reach.
Categories.
Finally, you should add your videos to a category. As with tags, this is to associate similar video content, so be sure to make appropriate choices so that your video doesn't fall into the wrong category, thus, missing its target audience. For help, see the YouTube Creators Categories lesson.
Content.
The one thing we can assure you- your content must be right. While your SEO efforts may be good, if it doesn't add value and entertainment, your video won't rank. Research what your target audience is interested in and design a suitable content marketing strategy. Have a mission for your video channel. Clarify questions like: What is it good for? What do you want to achieve with it?
Take a look at the video of the YouTube Creators channel! The online marketing experts will straight up tell you why your channel has a right to exist.
New Channel Development Videos Every Week: The YouTube Creators Channel
You Are Ready!
That brings us to the end. You have created your YouTube channel, made the most important settings, published your first video, and applied YouTube SEO. Go even further!
Find out what works for you and what is popular with your target group. But, above all, have fun with it.


